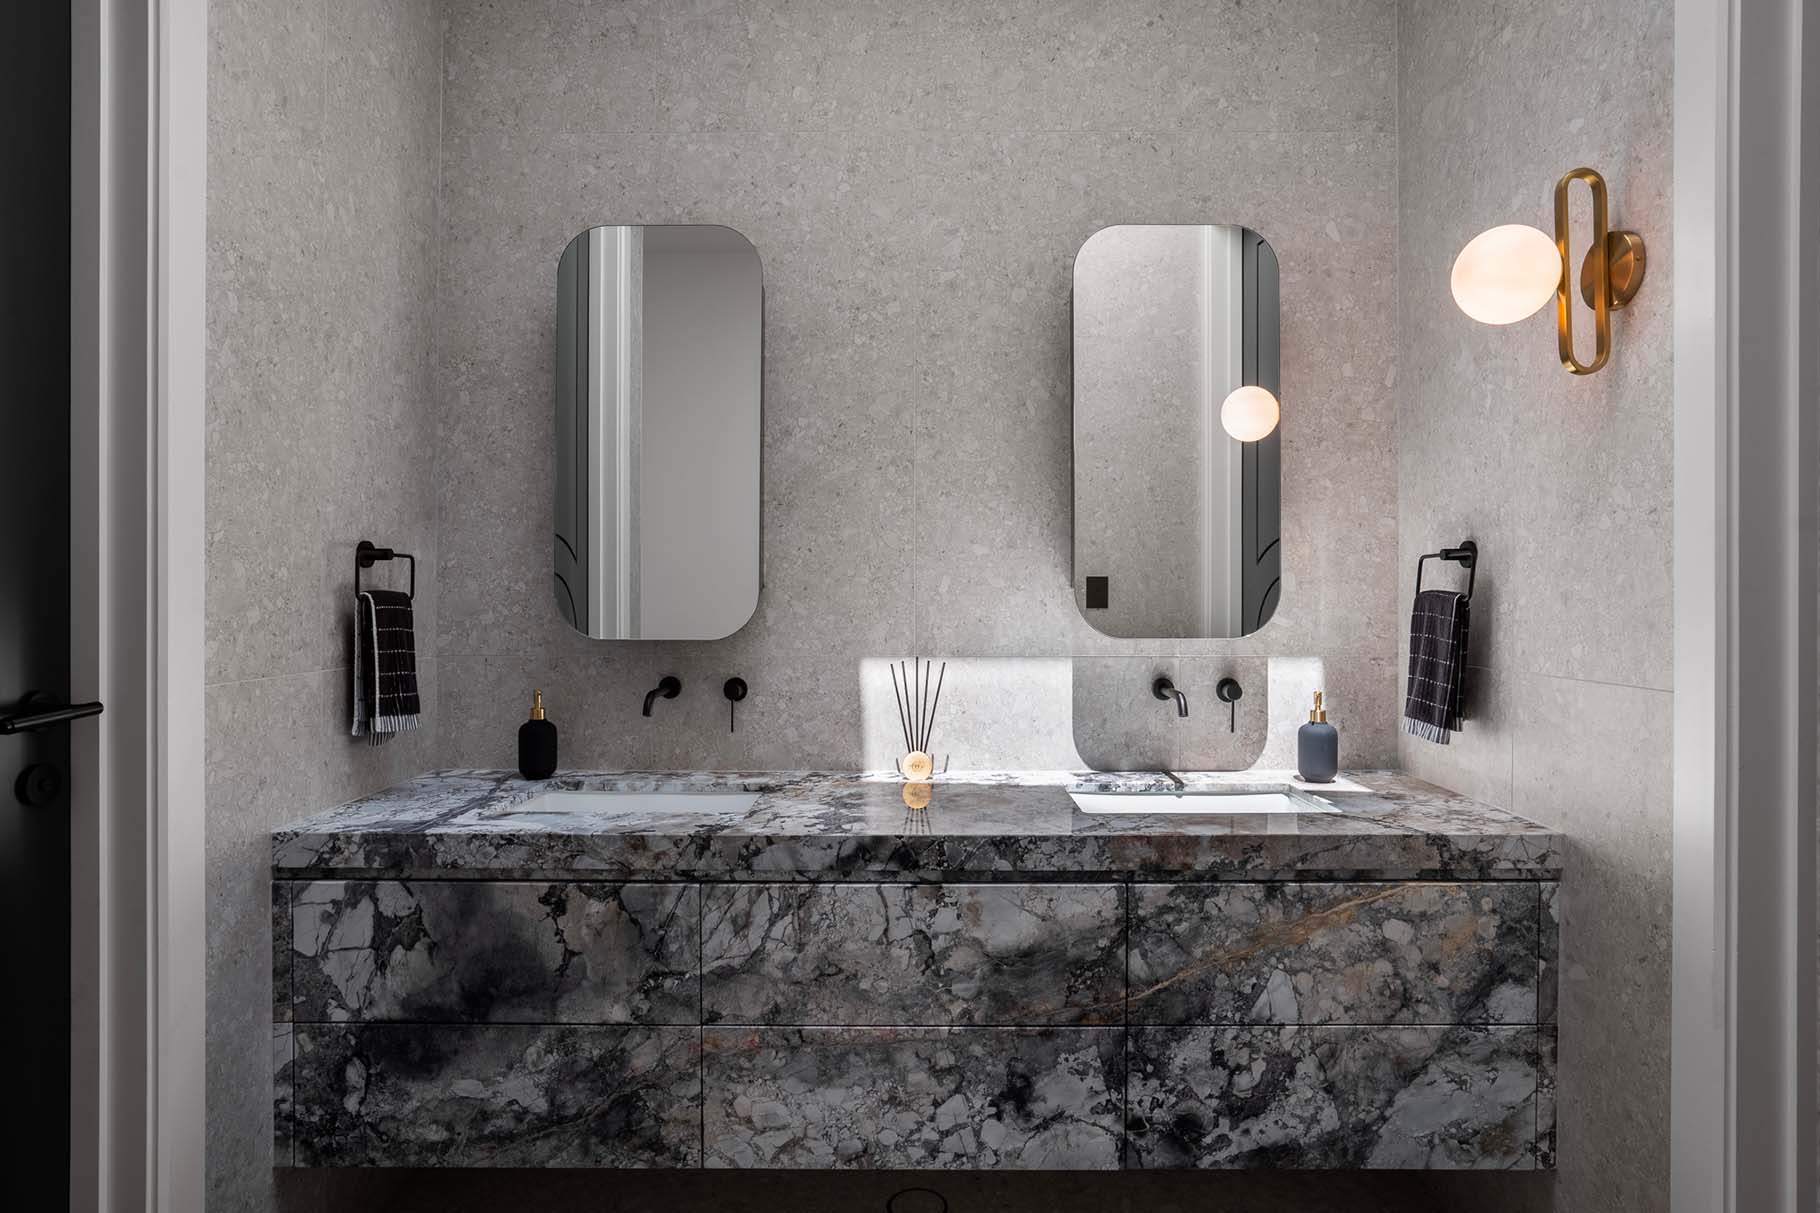
We’re thrilled that you've chosen a Elsa Home & Beuaty marble washbasin! As you move forward with the installation, please note that wall materials can vary greatly. To ensure the best results, it’s always advisable to consult with a professional who can tailor the installation to suit your specific sink and wall conditions.

Tools You'll Need for Installation
-
Elsa Home & Beauty-provided Brackets (size depends on your sink)
-
Drill & Drill Bit (suitable for your wall material)
-
Washers
-
Screws
-
Wall Plugs
-
Screwdriver
-
Hammer
-
Utility Knife
-
Spirit Level (for ensuring proper alignment)
-
Straight Wooden Plank (for leveling)
-
Tape Measure (for precise measurements)
-
Silicone Sealant & Silicone Gun
-
Pencil or Marker (for marking installation spots)
Unboxing and Inspecting Your Marble Washbasin
Inspect for Shipping Damage
Upon delivery, inspect your marble washbasin carefully for any damage that may have occurred during shipping. If you notice any issues, it's important to contact Elsa Home and Beauty before beginning the installation process.
Responsible Packaging Disposal
The packaging of your marble washbasin is fully recyclable or reusable. Be sure to dispose of it responsibly, or better yet, reuse it for future purposes.
Handling with Care
When opening the packaging, take extra care to avoid damaging the basin. Marble is a heavy material, so be mindful when handling it.
Lifting Assistance
Due to the weight of marble, it’s highly recommended that two or more people help with unboxing and installation. Always lift properly by bending at the knees to avoid any injuries.
Safe Basin Placement
Once you've removed the basin from the box, place it carefully on the packaging or another soft surface to avoid any damage while you prepare for the installation.
Installing the First Bracket
Choosing the Right Basin Height
Typically, a wall-mounted basin is installed at a height of 80-90 cm from the floor. However, you can adjust this to suit your preference. Be sure to consider your existing plumbing setup to allow space for the bottle trap. Additionally, choose the correct drill bit for your wall material, and consult a hardware expert for the right screws, washers, and wall plugs that can support the weight of the marble sink.
Determining Bracket Placement
The number of brackets required depends on the size and weight of your basin. For our example, we used four brackets. Begin by determining the location of the first bracket, factoring in the desired basin height and marble thickness (usually 2 cm). Position the bracket on the far left side of your countertop, taking skirting thickness into account and leaving a 1-2 cm margin to hide the brackets. Mark the top hole and level the bracket before marking the remaining holes.
Drilling and Securing the Bracket
Drill the holes at the marked spots, then insert wall plugs and secure the bracket with washers and screws, ensuring it's firmly attached to the wall.
Installing the Remaining Brackets
Positioning the Additional Brackets
For the remaining brackets, ensure they are evenly spaced and positioned to support the bowl and countertop correctly. Take skirting thickness into account and leave a 1-2 cm margin for the outer brackets.
Leveling and Securing the Brackets
Mark the positions of the additional brackets, making sure to check that they remain level throughout. Proper leveling is essential for proper drainage and to prevent water from pooling. Once the brackets are aligned correctly, secure them in place.
Securing and Caulking the Basin
Preparing the Basin for Installation
At this stage, you may choose to dry-fit the basin on the brackets. If your basin includes threaded studs, adjust them as needed to regulate the height. Once the basin is perfectly level, remove it and store it safely until you're ready for the final installation.
Applying Silicone for a Secure Bond
Apply a generous bead of silicone along each bracket to create a strong, secure bond between the basin and the wall. With the help of another person, carefully position the basin on the brackets, making sure it sits firmly.
Ensuring a Watertight Seal
To prevent water from damaging your wall, apply silicone caulking around the edge of the basin, creating a watertight seal. This step is crucial to protect both the basin and the surrounding area from water leaks.
Final Installation Check
After installation, allow the silicone to cure for at least 24 hours before using your new marble washbasin.


